
Product Details
Somaler Toddler Boys Girls Winter Knit Hat with Earflap Kids Baby Fleece Lined Beanie Hat Pom Pom Ski Cap
Free Shipping+Easy returns

Product Details
Womens Winter Baseball Cap with Earflaps Fleece Lined Warm Waterproof Hat Mens Outdoor Adventure Adjustable Cap
Free Shipping+Easy returns

Product Details
Toddler Winter Earflap Hat Mittens Set Kids Warm Cute Print Cap Gloves for Boys and Girls
Free Shipping+Easy returns

Product Details
Happy Cherry Baby Beanie Earflaps Hat Infant Toddler Unisex Soft Warm Knit Hat Kids Winter Fleece Lined Hat
Free Shipping+Easy returns

Product Details
Fleece Chullo Hat #549 for Adults and Children Winter Earflap Hat Fleece Hats Sewing Pattern (Pattern Only)
Free Shipping+Easy returns

Product Details
Baby Kids Winter Warm Hat Boy Warmer Earflap Hat Pilot Aviator Cap with Goggles Pattern Black
Free Shipping+Easy returns

Product Details
Moon Kitty Baby Boys Girls Knit Hats Winter Fleece Skiing Winter Caps with Warm Ear Flap …
Free Shipping+Easy returns

Product Details
Iridescentlife Toddler Winter Hat for Boys Warm Baby Girl Beanie Fleece Infant Knit Snow Caps for Newborn
Free Shipping+Easy returns

Product Details
Tribe Azure Fair Trade Womens Beanie Hats, Warm Hats for Women Knit Hat for Women Women’s Skullies & Beanie for Women
Free Shipping+Easy returns
Product Details
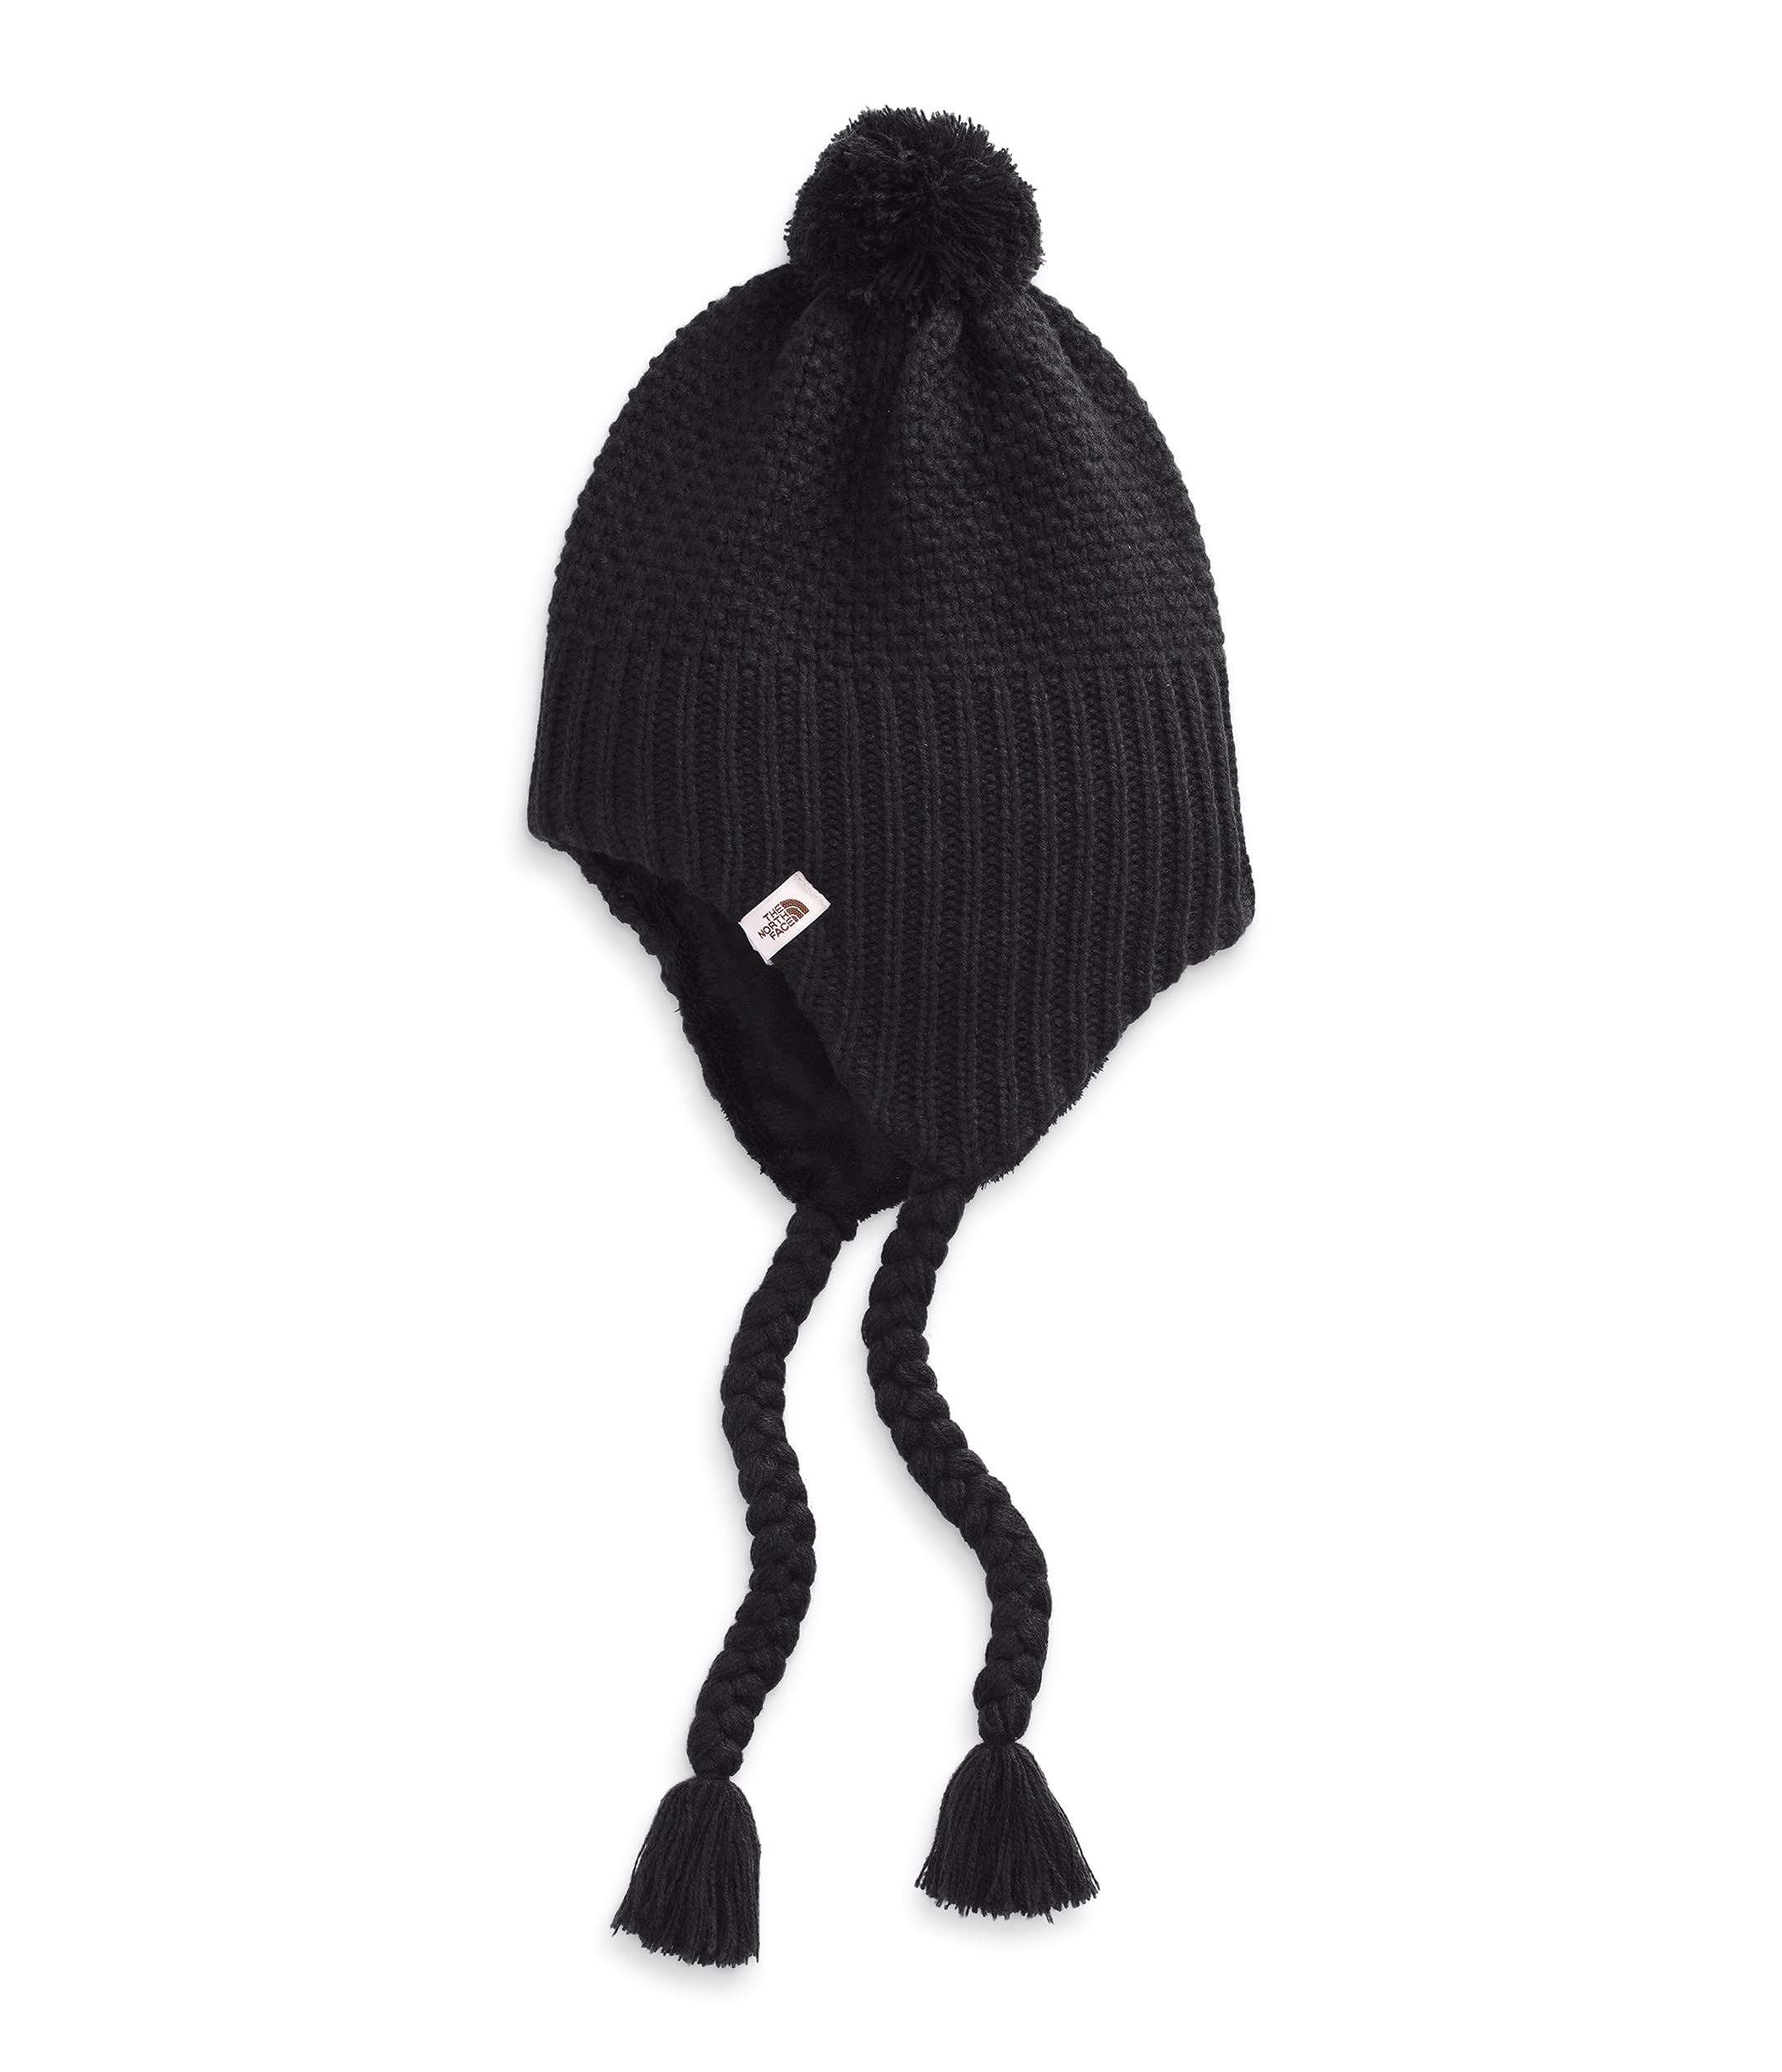
The North Face Women’s Purrl Stitch Earflap Beanie
Free Shipping+Easy returns

Product Details
Columbia Mens Adventure Hiking™ Earflap Cap
Free Shipping+Easy returns

Product Details
Muk Luks Men’s Trapper Hat- Grey Fairley
Free Shipping+Easy returns
Crochet

What do you do when a winter storm leaves you stranded at home with a foot of snow? You hit your yarn stash and make a quick hat so you can stay warm while you shovel your way out! This hat uses approximately…
Crochet

Free Crochet Patterns, A FREE easy crochet pattern for a baby hat with earflaps. Ideal for beginners. Crochet Patterns for Boys
Crochet ideas

** This listing is for a CROCHET PATTERN ONLY, not the finished product ** Are you a regular human by day, craving the excitement only available to superheroes? Become the ultimate soldier without all those pesky and painful injections – simply wear this hat, and you will become the Enemy of the Axis of Evil, the Wartime Hero, the First Soldier. And Agent Coulson will ask you to sign his card collection. LEVEL: Easy (basic stitches, working in the round, simple color changes, and simple shaping and finishing) HOOK SIZE: H/8 (5 mm) YARN: Worsted weight, held double SIZE: Measure around the head from just above the eyebrows to the nape of the neck Child – 20 to 21\
Crochet

I got a request from a friend asking if I could make her daughter a Minnie Mouse hat and her son a Mickey Mouse hat. Instantly I got excited and started to question why I never made KK a Minnie hat because she has always loved her. Once I got to thinking I decided to use the same earflap hat pattern that I used for the Mike Wazowski pattern, but of course I added two ears to the top! For the Minnie hat I crocheted a pink bow and attached some tiny while polka dots and for the Mickey hat I added two white buttons. I think they turned out awesome, I have even had a few requests to make the minnie mouse hat in red which you could do as well. If you would like to purchase one you can find them HERE on my Etsy shop 🙂 Crochet Minnie and Mickey Mouse Earflap Hat Pattern size H 5.00MM crochet hook tapestry needle white and black yarn 2 white buttons \u0026 red yarn for Mickey hat pink or red yarn for Minnie hat Size: 0-6 Months *start with black yarn and switch to either red or pink at row 6*Row 1: magic ring, 11 dc into the magic ring, join to the first dc Row 2: ch 2, 2 dc in each around, join to top of ch 2 (22 dc’s) Row 3: ch 2, *2 dc in first, dc in next,* repeat around and join (33 dc’s) Row 4: ch 2, *2 dc in first, dc in next 2,* repeat around and join (44 dc’s) Rows 5-10: ch 2, dc in each around then join (44 dc’s) do not fasten off, continue with earflap written below Size 6-12 Months *start with black yarn and switch to either red or pink at row 8* Row 1: magic ring, 11 dc into the magic ring, join to first dc Row 2: ch2, 2 dc in each around, join to top of ch 2 (22 dc’s) Row 3: ch 2, *2 dc in first, dc in next,* repeat around and join (33 dc’s) Row 4: ch 2, *2 dc in first, dc in next 2,* repeat around and join (44 dc’s) Row 5: ch 2, *2 dc in first, dc in next 10,* repeat around and join (48 dc’s) Row 6: ch 2, *2
dc in first, dc in next 11,* repeat around and join (52 dc’s) Row 7-12: ch 2, dc in each around then join (52 dc’s) do not fasten off at the end of the row begin on the earflaps, see below Earflaps for 0-6 and 6-12 Sizes: Earflap 1: Row 1: ch 1, sc in next 10 stitches where you left off, turn Row 2: ch 1, sc decrease, sc in next 6, sc decrease, turn Row 3: ch 1, sc across (8 sc’s) Row 4: ch 1, sc decrease, sc in next 4, sc decrease, turn Row 5: ch 1, sc across (6 sc’s) Row 6: ch 1, sc decrease, sc in next 2, sc decrease, turn Row 7: ch 1, sc across (4 sc’s) Row 8: ch 1, make 2 sc decreases, turn Row 9: ch 1, sc decrease, fasten off and weave in ends Earflap 2: Fold your hat in half and on the opposite side of the hat from the first earflap, begin the second earflap. Row 1: ch 1, sc in next 10, turn Row 2: ch 1, sc decrease, sc in next 6, sc decrease, turn Row 3: ch 1, sc across (8 sc’s) Row 4: ch 1, sc decrease, sc in next 4, sc decrease, turn Row 5: ch 1, sc across (6 sc’s) Row 6: ch 1, sc decrease, sc in next 2, sc decrease, turn Row 7: ch 1, sc across (4 sc’s) Row 8: ch 1, Make 2 sc decreases, chain 1, turn Row 9: ch 1, sc decrease, chain 1 Finishing: continue by sc in each stitch around the entire bottom edge of the hat as well as the earflaps. Fasten off and weave in the ends. Braided Tails: Cut 6 long strands of yarn, 2 of each: black, white and either pink or red whichever you used. Whatever length you want, then put together all of the strands and pull them through the end of the earflap. Knot it, then braid all the way ending with another knot. Trim the ends of braided tails so the yarn is even, do this for both earflaps. Ears: *make two* Row 1: magic ring, ch 1, 7 hdc into ring, join to ch 1 Row 2: ch 2, hdc in same stitch and every stitch around, join Row 3: ch 2, hdc in same stitch, *1 hdc in next, 2 in next,* repeat around, join Row 4: ch 2, hdc in same stitch, *1 hdc in the next 2, 2 hdc in next, repeat around, join Fasten off and weave in ends Minnie Bow: Row 1: ch 40 Row 2: ch 2, hdc in each stitch Repeat row 2 seven more times Fold piece in half and sl st together to make a circle Fasten off Lay piece flat then take your yarn, leaving a tail, and start to wrap it tightly in the middle so that it pinches it creating the bow Cut off yarn and tie a knot with the tail you left Weave in ends For polka dots: You can do this or use small white buttons Row 1: Magic ring Row 2: ch 1, 5 hdc, join Fasten off *make 6 small polka dots and use the two tails to tie them onto the bow Weave in the ends inside the bow Sew the two ears on top of the hat with some yarn and your tapestry needle. For Mickey hat: Sew on your two white buttons For Minnie hat: Attach the bow in between the ears Size: Child *start with black yarn and switch to either red or pink at row 11* Row 1: magic ring, 11 dc into the magic ring, join to first dc Row 2: ch 2, 2 dc in each around, join to top of chain 2 (22 dc’s) Row 3: ch 2, *2 dc in first, dc in next,* repeat around and join (33 dc’s) Row 4: ch 2, *2 dc in first, dc in next 2,* repeat around and join (44 dc’s) Row 5: ch 2, *2 dc in first, dc in next 10,* repeat around and join (48 dc’s) Row 6: ch 2, *2 dc in first, dc in next 11,* repeat around and join (52 dc’s) Row 7: ch 2, *2 dc in first, dc in next 12,*repeat around and join (56 dc’s) Row 8: ch 2, *2 dc in first, dc in next 13,* repeat around and join (60 dc’s) Row 9: ch 2, *2 dc in first, dc in next 14,* repeat around and join (64 dc’s) Row 10-15: ch 2, dc in each around then join (64 dc’s) do not fasten off at the end of the row begin on the earflaps, see below Size: Adult *start with black yarn and switch to either red or pink at row 12* Row 1: magic ring, 11 dc into the magic ring, join to first dc Row 2: ch 2, 2 dc in each around, join to top of chain 2 (22 dc’s) Row 3: ch 2, *2 dc in first, dc in next,* repeat around and join (33 dc’s) Row 4: ch 2, *2 dc in first, dc in next 2,* repeat around and join (44 dc’s) Row 5: ch 2, *2 dc in first, dc in next 10,* repeat around and join (48 dc’s) Row 6: ch 2, *2 dc in first, dc in next 11,* repeat around and join (52 dc’s) Row 7: ch 2, *2 dc in first, dc in next 12,* repeat around and join (56 dc’s) Row 8: ch 2, *2 dc in first, dc in next 13,* repeat around and join (60 dc’s) Row 9: ch 2, *2 dc in first, dc in next 14,* repeat around and join (64 dc’s) Row 10: ch 2, *2 dc in first, dc in next 15,* repeat around and join (68 dc’s) Row 11-16: ch 2, dc in each around then join (68 dc’s) do not fasten off at the end of the row begin on the earflaps, see below Earflaps for Child and Adult Sizes: Earflap 1: Row 1: ch 1, sc in next 12, turn Row 2: ch 1, sc decrease, sc in next 8, sc decrease, turn Row 3: ch 1, sc across (10 sc’s) Row 4: ch 1, sc decrease, SC in next 6, sc decrease, turn Row 5: ch 1, sc across ( 8 sc’s) Row 6: ch 1, sc decrease, SC in next 4, sc decrease, turn Row 7: ch 1, sc across ( 6 sc’s) Row 8: ch 1, sc decrease, sc in next 2, sc decrease, turn Row 9: ch 1, sc across (4 sc’s) Row 10: ch 1, make 2 sc decreases, turn Row 11: ch 1, sc decrease, fasten off, weave in ends Earflap 2: Fold your hat in half and on the opposite side of the hat from the first earflap, begin the second earflap. Row 1: ch 1, sc in next 12, turn Row 2: ch 1, sc decrease, sc in next 8, sc decrease, turn Row 3: ch 1, sc across (10 sc’s) Row 4: ch 1, sc decrease, sc in next 6, sc decrease, turn Row 5: ch 1, sc across ( 8 sc’s) Row 6: ch 1, sc decrease, sc in next 4, sc decrease, turn Row 7: ch 1, sc across ( 6 sc’s) Row 8: ch 1, sc decrease, sc in next 2, sc decrease, turn Row 9: ch 1, sc across (4 sc’s) Row 10: ch 1, make 2 sc decreases, turn Row 11: ch 1, sc decrease, ch 1 Finishing: continue by sc in each stitch around the entire bottom edge of the hat as well as the earflaps. Fasten off and weave in the ends. Braided Tails: Cut 6 long strands of yarn: black, white and either pink or red whichever you used. Whatever length you want, then put together all of the strands and pull them through the end of the earflap. Knot it, then braid all the way ending with another knot. Trim the ends of braided tails so the yarn is even, do this for both earflaps. Ears: *make two* Row 1: magic ring, ch 1, 7 hdc into ring, join to ch 1 Row 2: ch 2, hdc in same stitch and every stitch around, join Row 3: ch 2, hdc in same stitch, *1 hdc in next, 2 in next,* repeat around, join Row 4: ch 2, hdc in same stitch, *1 hdc in the next 2, 2 hdc in next, repeat around, join Fasten off and weave in ends Minnie Bow: Row 1: ch 40 Row 2: ch 2, hdc in each stitch Repeat row 2 seven more times Fold piece in half and sl st together to make a circle Fasten off Lay piece flat then take your yarn, leaving a tail, and start to wrap it tightly in the middle so that it pinches it creating the bow Cut off yarn and tie a knot with the tail you left Weave in ends For polka dots: You can do this or use small white buttons Row 1: Magic ring Row 2: ch 1, 5 hdc, join Fasten off *make 6 small polka dots and use the two tails to tie them onto the bow Weave in the ends inside the bow Sew the two ears on top of the hat with some yarn and your tapestry needle. For Mickey hat: Sew on your two white buttons For Minnie hat: Attach the bow in between the ears
Mickey and Minnie Mouse

I got a request from a friend asking if I could make her daughter a Minnie Mouse hat and her son a Mickey Mouse hat. Instantly I got excited and started to question why I never made KK a Minnie hat because she has always loved her. Once I got to thinking I decided to use the same earflap hat pattern that I used for the Mike Wazowski pattern, but of course I added two ears to the top! For the Minnie hat I crocheted a pink bow and attached some tiny while polka dots and for the Mickey hat I added two white buttons. I think they turned out awesome, I have even had a few requests to make the minnie mouse hat in red w
hich you could do as well. If you would like to purchase one you can find them HERE on my Etsy shop 🙂 Crochet Minnie and Mickey Mouse Earflap Hat Pattern size H 5.00MM crochet hook tapestry needle white and black yarn 2 white buttons \u0026 red yarn for Mickey hat pink or red yarn for Minnie hat Size: 0-6 Months *start with black yarn and switch to either red or pink at row 6*Row 1: magic ring, 11 dc into the magic ring, join to the first dc Row 2: ch 2, 2 dc in each around, join to top of ch 2 (22 dc’s) Row 3: ch 2, *2 dc in first, dc in next,* repeat around and join (33 dc’s) Row 4: ch 2, *2 dc in first, dc in next 2,* repeat around and join (44 dc’s) Rows 5-10: ch 2, dc in each around then join (44 dc’s) do not fasten off, continue with earflap written below Size 6-12 Months *start with black yarn and switch to either red or pink at row 8* Row 1: magic ring, 11 dc into the magic ring, join to first dc Row 2: ch2, 2 dc in each around, join to top of ch 2 (22 dc’s) Row 3: ch 2, *2 dc in first, dc in next,* repeat around and join (33 dc’s) Row 4: ch 2, *2 dc in first, dc in next 2,* repeat around and join (44 dc’s) Row 5: ch 2, *2 dc in first, dc in next 10,* repeat around and join (48 dc’s) Row 6: ch 2, *2 dc in first, dc in next 11,* repeat around and join (52 dc’s) Row 7-12: ch 2, dc in each around then join (52 dc’s) do not fasten off at the end of the row begin on the earflaps, see below Earflaps for 0-6 and 6-12 Sizes: Earflap 1: Row 1: ch 1, sc in next 10 stitches where you left off, turn Row 2: ch 1, sc decrease, sc in next 6, sc decrease, turn Row 3: ch 1, sc across (8 sc’s) Row 4: ch 1, sc decrease, sc in next 4, sc decrease, turn Row 5: ch 1, sc across (6 sc’s) Row 6: ch 1, sc decrease, sc in next 2, sc decrease, turn Row 7: ch 1, sc across (4 sc’s) Row 8: ch 1, make 2 sc decreases, turn Row 9: ch 1, sc decrease, fasten off and weave in ends Earflap 2: Fold your hat in half and on the opposite side of the hat from the first earflap, begin the second earflap. Row 1: ch 1, sc in next 10, turn Row 2: ch 1, sc decrease, sc in next 6, sc decrease, turn Row 3: ch 1, sc across (8 sc’s) Row 4: ch 1, sc decrease, sc in next 4, sc decrease, turn Row 5: ch 1, sc across (6 sc’s) Row 6: ch 1, sc decrease, sc in next 2, sc decrease, turn Row 7: ch 1, sc across (4 sc’s) Row 8: ch 1, Make 2 sc decreases, chain 1, turn Row 9: ch 1, sc decrease, chain 1 Finishing: continue by sc in each stitch around the entire bottom edge of the hat as well as the earflaps. Fasten off and weave in the ends. Braided Tails: Cut 6 long strands of yarn, 2 of each: black, white and either pink or red whichever you used. Whatever length you want, then put together all of the strands and pull them through the end of the earflap. Knot it, then braid all the way ending with another knot. Trim the ends of braided tails so the yarn is even, do this for both earflaps. Ears: *make two* Row 1: magic ring, ch 1, 7 hdc into ring, join to ch 1 Row 2: ch 2, hdc in same stitch and every stitch around, join Row 3: ch 2, hdc in same stitch, *1 hdc in next, 2 in next,* repeat around, join Row 4: ch 2, hdc in same stitch, *1 hdc in the next 2, 2 hdc in next, repeat around, join Fasten off and weave in ends Minnie Bow: Row 1: ch 40 Row 2: ch 2, hdc in each stitch Repeat row 2 seven more times Fold piece in half and sl st together to make a circle Fasten off Lay piece flat then take your yarn, leaving a tail, and start to wrap it tightly in the middle so that it pinches it creating the bow Cut off yarn and tie a knot with the tail you left Weave in ends For polka dots: You can do this or use small white buttons Row 1: Magic ring Row 2: ch 1, 5 hdc, join Fasten off *make 6 small polka dots and use the two tails to tie them onto the bow Weave in the ends inside the bow Sew the two ears on top of the hat with some yarn and your tapestry needle. For Mickey hat: Sew on your two white buttons For Minnie hat: Attach the bow in between the ears Size: Child *start with black yarn and switch to either red or pink at row 11* Row 1: magic ring, 11 dc into the magic ring, join to first dc Row 2: ch 2, 2 dc in each around, join to top of chain 2 (22 dc’s) Row 3: ch 2, *2 dc in first, dc in next,* repeat around and join (33 dc’s) Row 4: ch 2, *2 dc in first, dc in next 2,* repeat around and join (44 dc’s) Row 5: ch 2, *2 dc in first, dc in next 10,* repeat around and join (48 dc’s) Row 6: ch 2, *2 dc in first, dc in next 11,* repeat around and join (52 dc’s) Row 7: ch 2, *2 dc in first, dc in next 12,*repeat around and join (56 dc’s) Row 8: ch 2, *2 dc in first, dc in next 13,* repeat around and join (60 dc’s) Row 9: ch 2, *2 dc in first, dc in next 14,* repeat around and join (64 dc’s) Row 10-15: ch 2, dc in each around then join (64 dc’s) do not fasten off at the end of the row begin on the earflaps, see below Size: Adult *start with black yarn and switch to either red or pink at row 12* Row 1: magic ring, 11 dc into the magic ring, join to first dc Row 2: ch 2, 2 dc in each around, join to top of chain 2 (22 dc’s) Row 3: ch 2, *2 dc in first, dc in next,* repeat around and join (33 dc’s) Row 4: ch 2, *2 dc in first, dc in next 2,* repeat around and join (44 dc’s) Row 5: ch 2, *2 dc in first, dc in next 10,* repeat around and join (48 dc’s) Row 6: ch 2, *2 dc in first, dc in next 11,* repeat around and join (52 dc’s) Row 7: ch 2, *2 dc in first, dc in next 12,* repeat around and join (56 dc’s) Row 8: ch 2, *2 dc in first, dc in next 13,* repeat around and join (60 dc’s) Row 9: ch 2, *2 dc in first, dc in next 14,* repeat around and join (64 dc’s) Row 10: ch 2, *2 dc in first, dc in next 15,* repeat around and join (68 dc’s) Row 11-16: ch 2, dc in each around then join (68 dc’s) do not fasten off at the end of the row begin on the earflaps, see below Earflaps for Child and Adult Sizes: Earflap 1: Row 1: ch 1, sc in next 12, turn Row 2: ch 1, sc decrease, sc in next 8, sc decrease, turn Row 3: ch 1, sc across (10 sc’s) Row 4: ch 1, sc decrease, SC in next 6, sc decrease, turn Row 5: ch 1, sc across ( 8 sc’s) Row 6: ch 1, sc decrease, SC in next 4, sc decrease, turn Row 7: ch 1, sc across ( 6 sc’s) Row 8: ch 1, sc decrease, sc in next 2, sc decrease, turn Row 9: ch 1, sc across (4 sc’s) Row 10: ch 1, make 2 sc decreases, turn Row 11: ch 1, sc decrease, fasten off, weave in ends Earflap 2: Fold your hat in half and on the opposite side of the hat from the first earflap, begin the second earflap. Row 1: ch 1, sc in next 12, turn Row 2: ch 1, sc decrease, sc in next 8, sc decrease, turn Row 3: ch 1, sc across (10 sc’s) Row 4: ch 1, sc decrease, sc in next 6, sc decrease, turn Row 5: ch 1, sc across ( 8 sc’s) Row 6: ch 1, sc decrease, sc in next 4, sc decrease, turn Row 7: ch 1, sc across ( 6 sc’s) Row 8: ch 1, sc decrease, sc in next 2, sc decrease, turn Row 9: ch 1, sc across (4 sc’s) Row 10: ch 1, make 2 sc decreases, turn Row 11: ch 1, sc decrease, ch 1 Finishing: continue by sc in each stitch around the entire bottom edge of the hat as well as the earflaps. Fasten off and weave in the ends. Braided Tails: Cut 6 long strands of yarn: black, white and either pink or red whichever you used. Whatever length you want, then put together all of the strands and pull them through the end of the earflap. Knot it, then braid all the way ending with another knot. Trim the ends of braided tails so the yarn is even, do this for both earflaps. Ears: *make two* Row 1: magic ring, ch 1, 7 hdc into ring, join to ch 1 Row 2: ch 2, hdc in same stitch and every stitch around, join Row 3: ch 2, hdc in same stitch, *1 hdc in next, 2 in next,* repeat around, join Row 4: ch 2, hdc in same stitch, *1 hdc in the next 2, 2 hdc in next, repeat around, join Fasten off and weave in ends Minnie Bow: Row 1: ch 40 Row 2: ch 2, hdc in each stitch Repeat row 2 seven more times Fold piece in half and sl st together to make a circle Fasten off Lay piece flat then take your yarn, leaving a tail, and start to wrap it tightly in the middle so that it pinches it creating the bow Cut off yarn and tie a knot with the tail you left Weave in ends For polka
dots: You can do this or use small white buttons Row 1: Magic ring Row 2: ch 1, 5 hdc, join Fasten off *make 6 small polka dots and use the two tails to tie them onto the bow Weave in the ends inside the bow Sew the two ears on top of the hat with some yarn and your tapestry needle. For Mickey hat: Sew on your two white buttons For Minnie hat: Attach the bow in between the ears
Σκουφι

Charming downhill ski-inspired adult/teen hat with interesting color and texture. Stylish and cozy! Familiar stitches are used and can be completed in an evening or two. Pattern for crochet ear flap hat with pom poms and braided ties. This listing is for a pdf transmitted crochet pattern which will be delivered to your email. Check out my shop for more patterns and special discounts on multiple purchases http://www.longbeachdesigns.etsy.com Pattern utilizes worsted weight yarn, double up, and a P/10mm crochet hook Crochet hook available in my shop: https://www.etsy.com/listing/188274774/large-bamboo-crochet-hook-bamboo-crochet?ref=shop_home_active_9 Familiar stitches and concise directions. Online support whenever necessary – just email me and I will get back to you within 24 hours. Visit my Etsy shop http://www.longbeachdesigns.etsy.com for crochet and knitting patterns, handspun art yarn, hand painted roving fiber, crochet hooks and knitting needles for your projects. This listing is for a PDF pattern which will be transmitted via email to you, not the actual finished product. If you do not receive this within 24 hours, please contact me as the attachment may have gone into spam or lost in cyberspace. All questions, concerns or pattern dilemmas are welcome. Please do not hesitate to contact me for any reason whatsoever regarding the execution of this design.
Hats

\