
Product Details
Infantino Flip Advanced 4-in-1 Carrier – Ergonomic, convertible, face-in and face-out front and back carry for newborns an…
Free Shipping+Easy returns

Product Details
Boppy Baby Carrier – ComfyFit, Heathered Gray with Waist Pocket, Hybrid Wrap, 3 Carrying Positions, 0m+ 8-35lbs, Soft Yog…
Free Shipping+Easy returns

Product Details
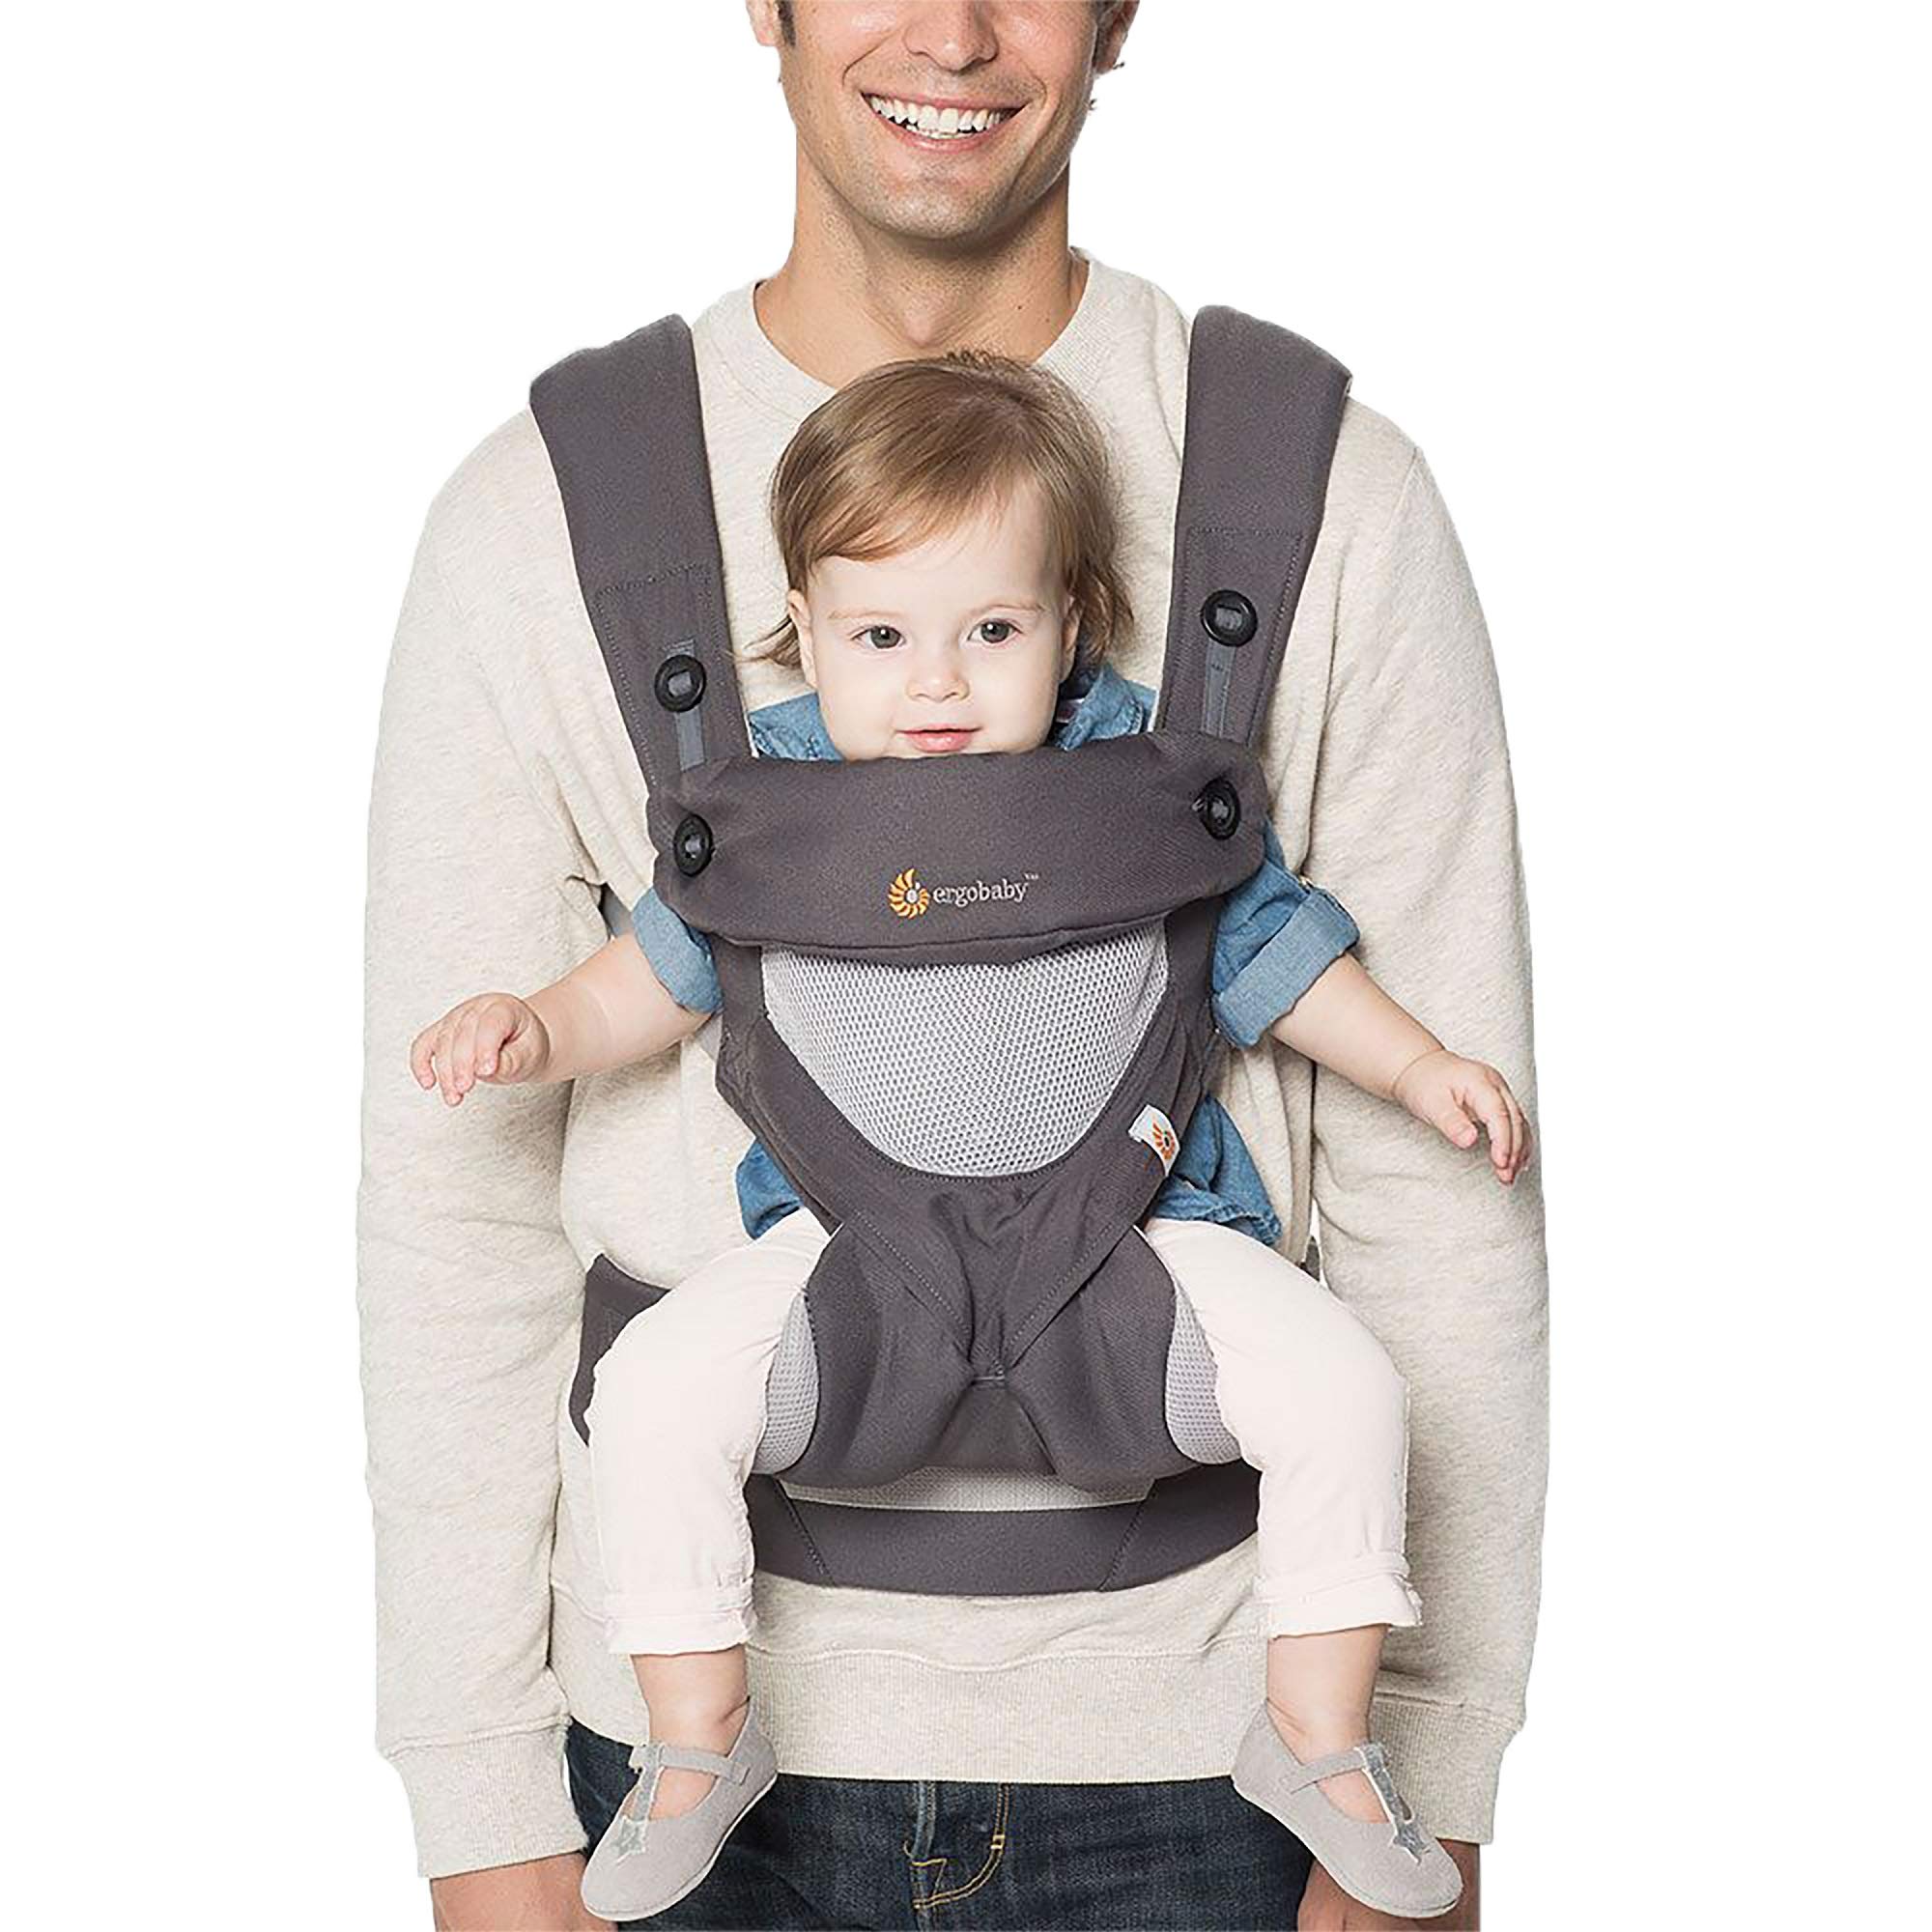
Ergobaby Embrace Cozy Newborn Baby Wrap Carrier (7-25 Pounds), Premium Cotton, Heather Grey
Free Shipping+Easy returns

Product Details
Acrabros Baby Wrap Carrier,Hands Free Baby Carrier Sling,Lightweight,Breathable,Softness,Perfect for Newborn Infants and B…
Free Shipping+Easy returns

Product Details
CuddleBug Baby Wrap Sling + Carrier – Newborns & Toddlers up to 36 lbs – Hands Free – Gentle, Stretch Fabric – Ideal for B…
Free Shipping+Easy returns

Product Details
Infantino Carry On Carrier – Ergonomic, Expandable, face-in and face-Out, Front and Back Carry for Newborns and Older Babi…
Free Shipping+Easy returns

Product Details
Nalakai Ring Sling Baby Carrier – Luxury Bamboo and Linen Baby Sling – Baby Wrap
Free Shipping+Easy returns

Ratings & Reviews< /strong>
4.4 out of 5 Based on the opinion of 373 people
Product Details
Boba Air Baby Carrier – Black – Breathable mesh Shoulder Straps, Padded Leg Openings for Extended Support and Comfort
Free Shipping+Easy returns

Product Details
Moby Wrap Baby Carrier | Evolution | Baby Wrap Carrier for Newborns & Infants | #1 Baby Wrap | Baby Gift | Keeps Baby Safe…
Free Shipping+Easy returns

Product Details
Infantino Swift Classic Carrier
Free Shipping+Easy returns

Product Details
Infantino Gather Chevron Pattern
Free Shipping+Easy returns
Product Details
Ergobaby 360 All-Position Baby Carrier with Lumbar Support (12-45 Pounds), Carbon Grey, Cool Air Mesh
Free Shipping+Easy returns
babywearing

Ok, so I have two daughters that are 2 and 3 years old. They are at the age where they are too little to walk far distances, too big to be carried for very long and too little to walk anywhere fast. We have all the equipment needed to get these 2 from point A to point B- jogging stroller, a sit and stand stroller, umbrella strollers and even a bike trailer. But I was stumped when faced with a trip to go hiking with my husband’s family. So I got online to buy some type of back carrier for the girls. I wasn’t prepared for the cost though, have you ever priced one? Crazy, anyway so I got cracking at making one of my own! The Mei Tai looked to be the best one to replicate, it has no snaps, hooks, etc and it says that it is good for children up to 4 years old. It is just fabric and it ties around you and the baby. Here is the actual brand named one: and here is how it looks with a bigger kid in it: Ok, so here is how I made one… 1. Make pattern: I didn’t make a head rest or neck support for mine since my kids are big now. If you are wanting to make this for a baby and grow with your child you might need to make the back arch up instead go straight across. Here are my measurements: This is kind of typical measurements and what I used for the first one I made but for the 2nd, for my oldest daughter, I made the whole thing longer, around 24 inches instead of 20, because I thought it didn’t go up high enough on her back. 2. Cut out straps: cut 3 of them (2 shoulder and 1 waist) 10 inches wide by 80 inches long. 3. Cut out the padding for the straps (I used quilting batting): I cut out 8 pieces (4 will be stacked together for each shoulder strap) that are 5 inches by 22 inches long. And 4 pieces that are 5 inches by 28 inches long. 4. Cut out body pieces ON FOLD: you will need 3 of them- one for the inside (where the baby sits), one for the outside (that everyone will see) and an inside layer for durability. 5. Assemble the padding: place 4 pieces of the same size together and sew a basting stitch so they stay in place. You should have 3 padding bundles when you are done. 6. Make straps: Fold straps in half, right sides together and sew the length. When done flip them right side out and iron them flat. You should finish with 3 long straps, one for the waist and 2 for the shoulders. 7. Insert the padding: Place the padding in the two shoulder straps about 5 inches from the opening. Place the last bundle of padding in the waist section in the dead center. (I used a safety pin with a string tied to it to pull the padding into the center) 8. Sew the long strips 2 times lengthwise through the center. 9. Layout body pieces like this: with the straps sticking out the top by 5 inches and right sides of the inside and outside pieces together. 10. Stitch all around the body piece leaving the bottom open: I stitched twice across the straps just for durability. 11. Flip body to right sides out. 12. Tuck in the bottom and sew all around the body piece. 13. Sew the straps inside the body piece: with a square and \
Sewing

Ok, so I have two daughters that are 2 and 3 years old. They are at the age where they are too little to walk far distances, too big to be carried for very long and too little to walk anywher
e fast. We have all the equipment needed to get these 2 from point A to point B- jogging stroller, a sit and stand stroller, umbrella strollers and even a bike trailer. But I was stumped when faced with a trip to go hiking with my husband’s family. So I got online to buy some type of back carrier for the girls. I wasn’t prepared for the cost though, have you ever priced one? Crazy, anyway so I got cracking at making one of my own! The Mei Tai looked to be the best one to replicate, it has no snaps, hooks, etc and it says that it is good for children up to 4 years old. It is just fabric and it ties around you and the baby. Here is the actual brand named one: and here is how it looks with a bigger kid in it: Ok, so here is how I made one… 1. Make pattern: I didn’t make a head rest or neck support for mine since my kids are big now. If you are wanting to make this for a baby and grow with your child you might need to make the back arch up instead go straight across. Here are my measurements: This is kind of typical measurements and what I used for the first one I made but for the 2nd, for my oldest daughter, I made the whole thing longer, around 24 inches instead of 20, because I thought it didn’t go up high enough on her back. 2. Cut out straps: cut 3 of them (2 shoulder and 1 waist) 10 inches wide by 80 inches long. 3. Cut out the padding for the straps (I used quilting batting): I cut out 8 pieces (4 will be stacked together for each shoulder strap) that are 5 inches by 22 inches long. And 4 pieces that are 5 inches by 28 inches long. 4. Cut out body pieces ON FOLD: you will need 3 of them- one for the inside (where the baby sits), one for the outside (that everyone will see) and an inside layer for durability. 5. Assemble the padding: place 4 pieces of the same size together and sew a basting stitch so they stay in place. You should have 3 padding bundles when you are done. 6. Make straps: Fold straps in half, right sides together and sew the length. When done flip them right side out and iron them flat. You should finish with 3 long straps, one for the waist and 2 for the shoulders. 7. Insert the padding: Place the padding in the two shoulder straps about 5 inches from the opening. Place the last bundle of padding in the waist section in the dead center. (I used a safety pin with a string tied to it to pull the padding into the center) 8. Sew the long strips 2 times lengthwise through the center. 9. Layout body pieces like this: with the straps sticking out the top by 5 inches and right sides of the inside and outside pieces together. 10. Stitch all around the body piece leaving the bottom open: I stitched twice across the straps just for durability. 11. Flip body to right sides out. 12. Tuck in the bottom and sew all around the body piece. 13. Sew the straps inside the body piece: with a square and \
Sewing

Yep, been a lot of doll Mei Tais lately, which means I finally got the pattern done. Woo! I love writing patterns – figuring out the dimens…
Andreina ideas

Tutorial Mei-Tai reversible
Sewable

This versatile meh dai baby carrier pattern is designed to fit from early infancy into toddlerhood. An interchangeable waist system, cinchable panel, and padded-to-wrap style straps make this carrier a must-have stash addition. Carrier Style: Meh Dai Type: Instant Digital Download Paper Size: US Letter Skill Level: 3/5 Sizing: One Size Fits All (both wearer and wearee) [READ MORE BELOW]
Picas

¡Hola Creativas! Siguiendo la estela de los portabebés ergonómicos, hoy os muestro cómo hacer un Mei Tai, uno de mis portabebés ergonómicos preferidos ya que ocupa poco espacio, es muy fácil de adaptar al crecimiento del niño, pudiendo usarse desde el nacimiento hasta que el niño quiera y reparte muy bien el peso sobre los dos hombros por lo que resulta muy cómodo de usar y apenas se nota el peso. También he de decir a su favor que suele ser más del gusto de los papás, que se ven más llevando al bebé en un portabebés tipo mochila que en
18 \

A tutorial and free pattern for sewing a doll version of a mei tai carrier.